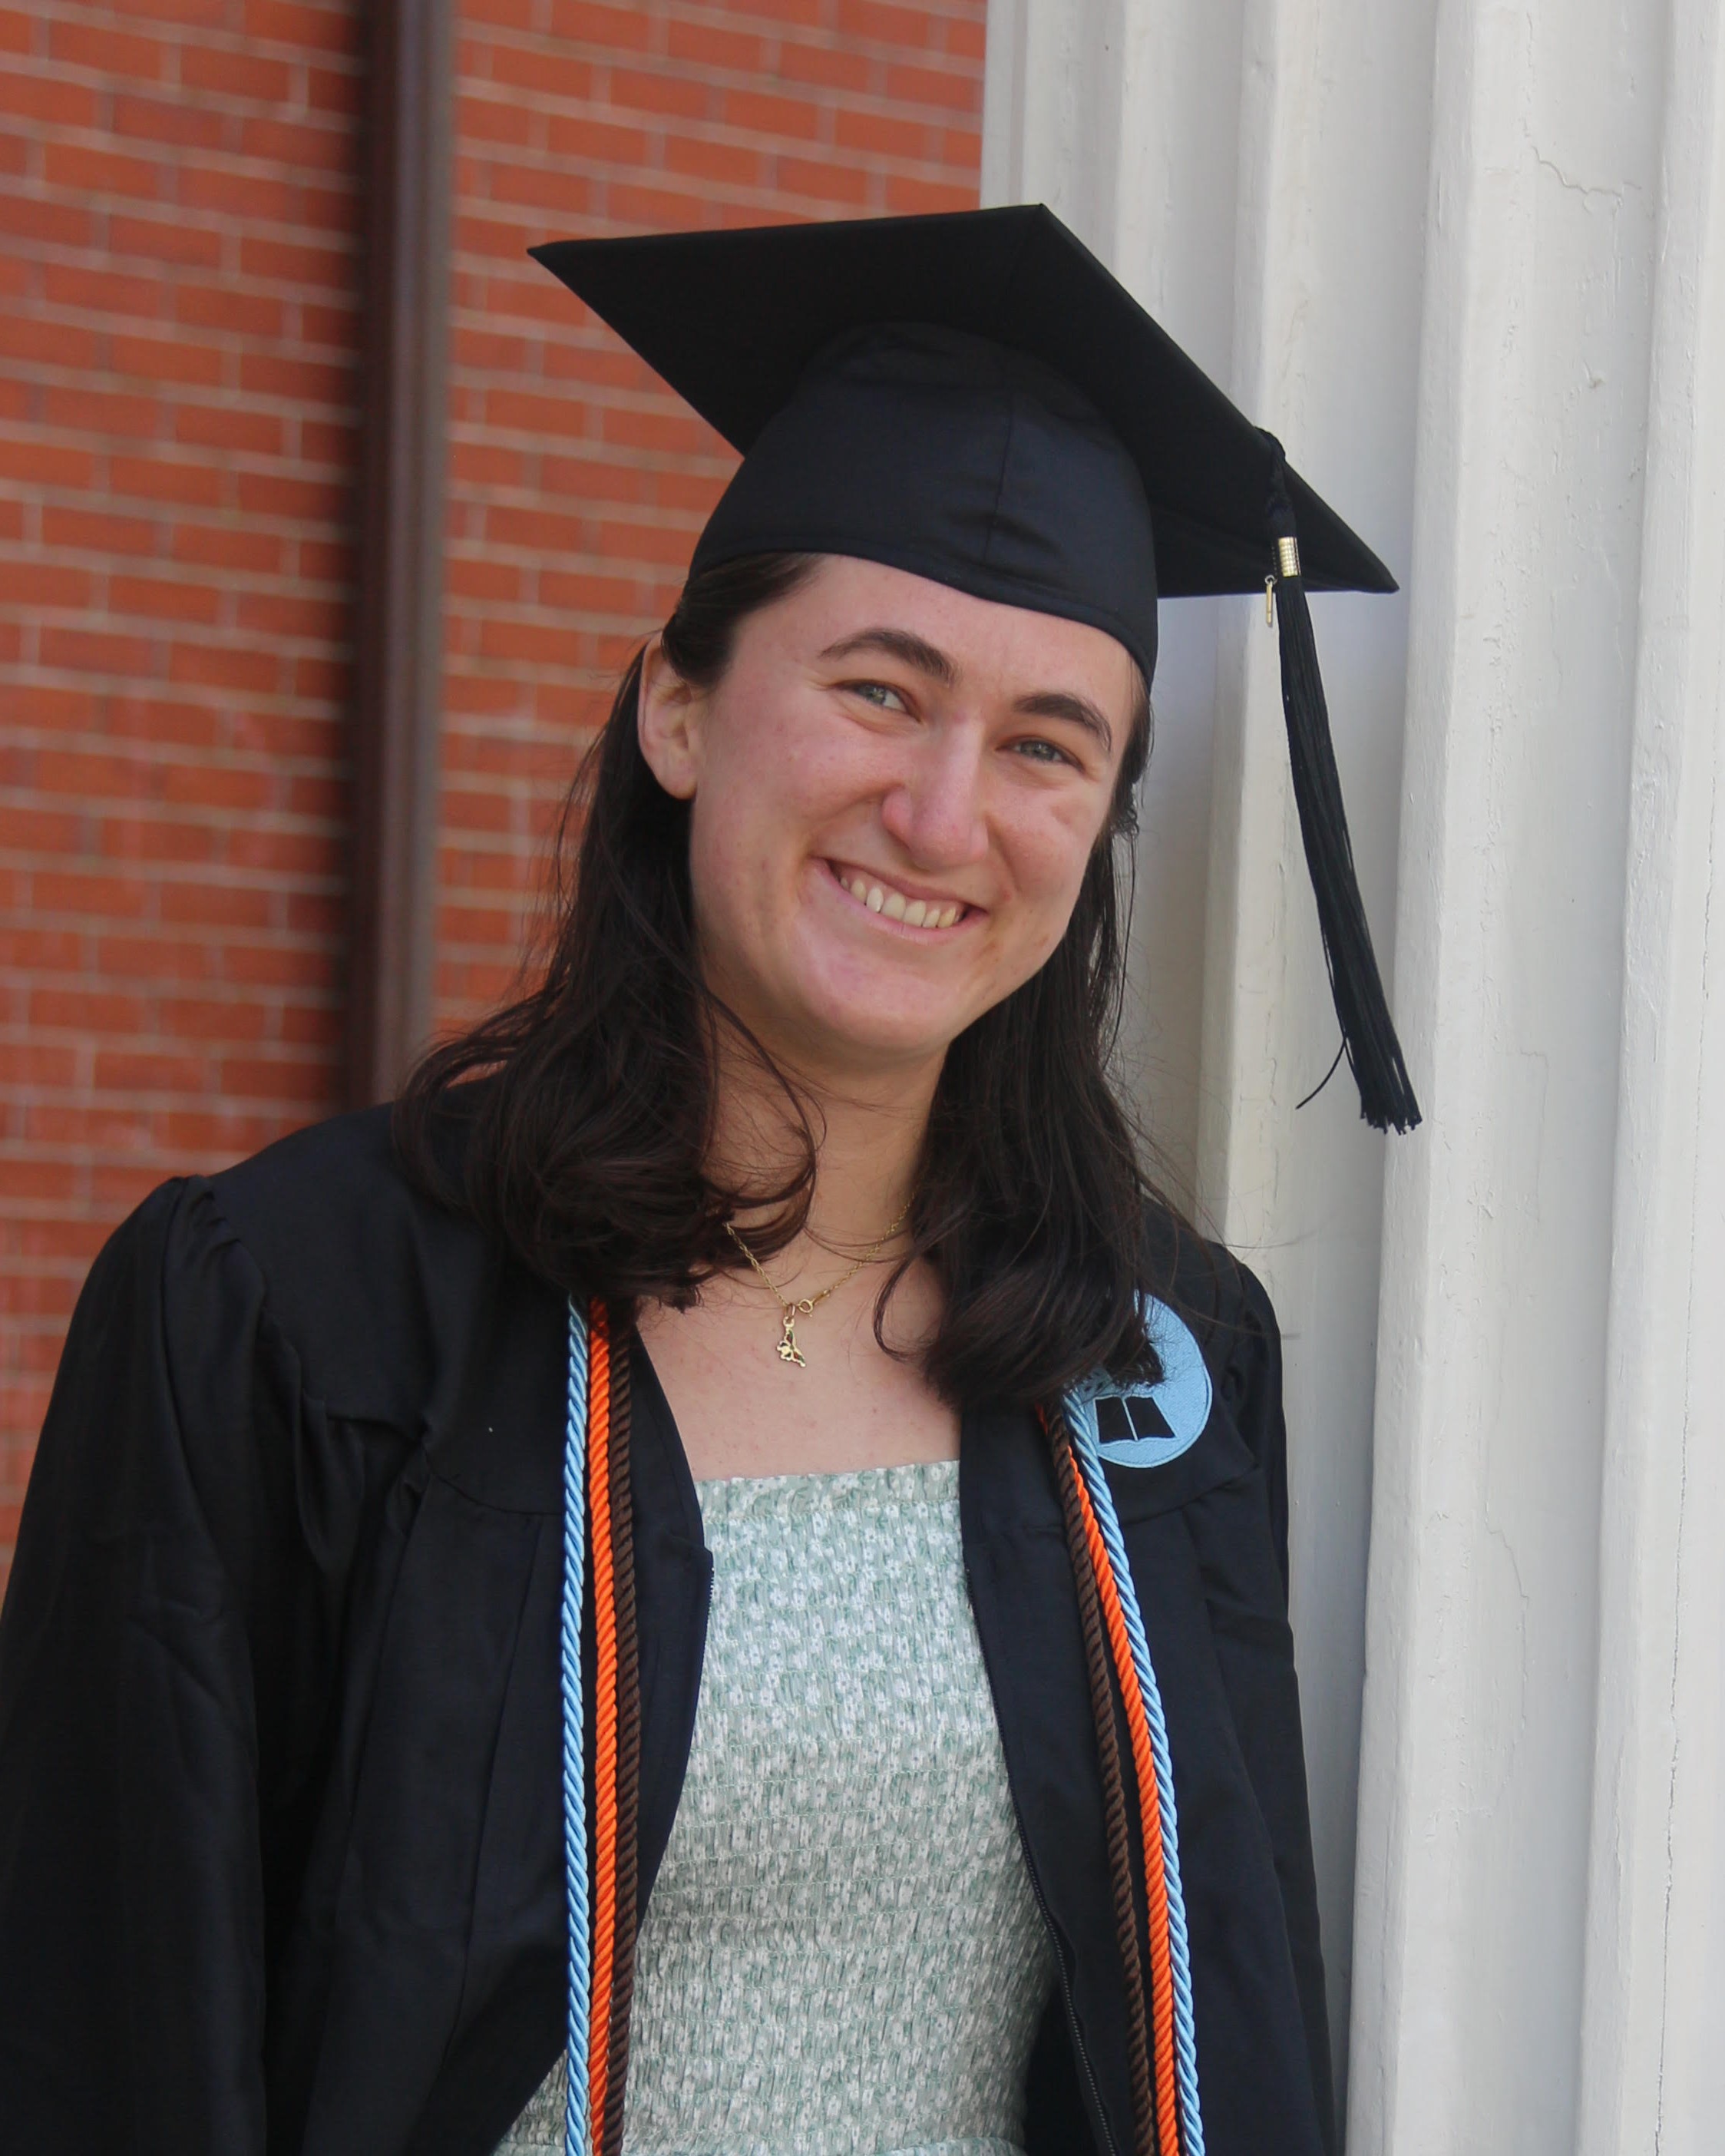
I just graduated from Tufts University, majoring in
Mechanical Engineering with a minor in Music Engineering, focused on acoustic instrument design
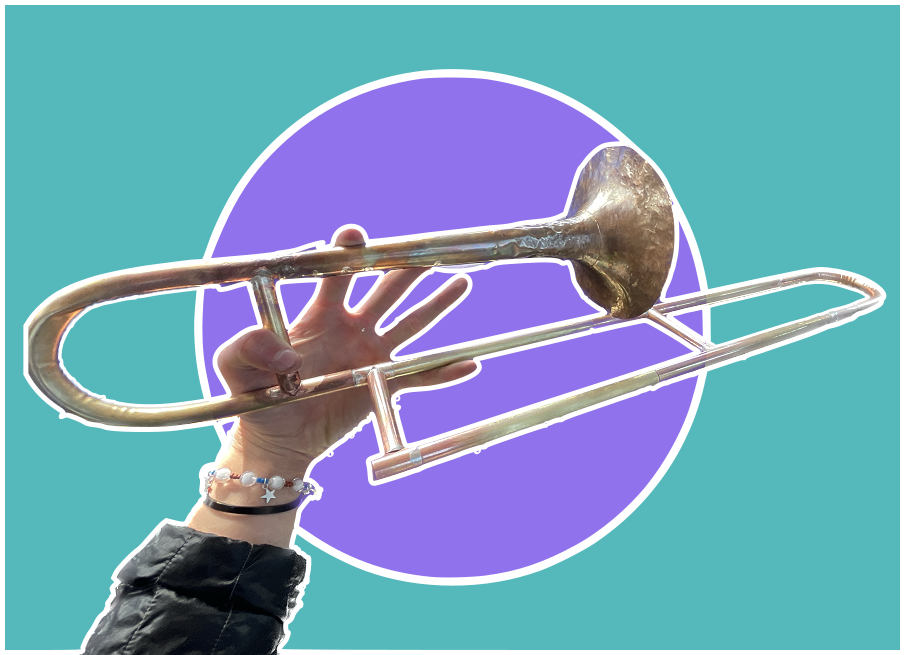
(check out the trombone I designed & built this past semester!).
Throughout college, as a creative student, welcoming staff member
at Tufts' community makerspace, and year-round varsity captain
of the cross country and track & field teams, I was constantly adapting, balancing,
compromising, and communicating with others to engender a sense of
community & improvement in every facet of life.
I spend my time tinkering with found materials, exploring access to
design for creators & users, and figuring out how to effectively & joyfully communicate about
engineering concepts. You can also find me staring at ceilings, listening to walls, and clapping
at random (I'm insatiably curious how and why things sound the way they do).
I believe that everyone is an expert -- of their own experience --
and it is therefore imperative, as an engineer myself, to seek out, listen to, and
embrace others' perspectives in the design process. Everyone has a seat at the
table -- and in every moment back to the drawing board.
Please reach out if you'd like to
learn more about me/my projects/background, I would love to hear from you :)
Contact me at rose.c.kitz@gmail.com. Website evolved from a Bootstrap template,
learning HTML/CSS/JS as I go :).
Brass Soprano Trombone
I designed, built, tested, wrote a piece for, and learned how to play this soprano trombone, all in one semester.
Sourced & budgeted materials (for <$140), based on extensive brass manufacturing processes research
Scheduled trainings and sought advice from metalworking, acoustics, brass-playing, and fabrication experts, rapidly transforming from a novice to deliver a functional & beautiful soprano trombone
Designed & fabricated all custom tooling to maximize learning and minimize cost, absorbing all the tricks of the trade from machinists, professional woodworkers, and jewlery artists
Iterated from a bell, to a slide bugle, and eventually the full trombone, to stay on track with “functional instrument” goal
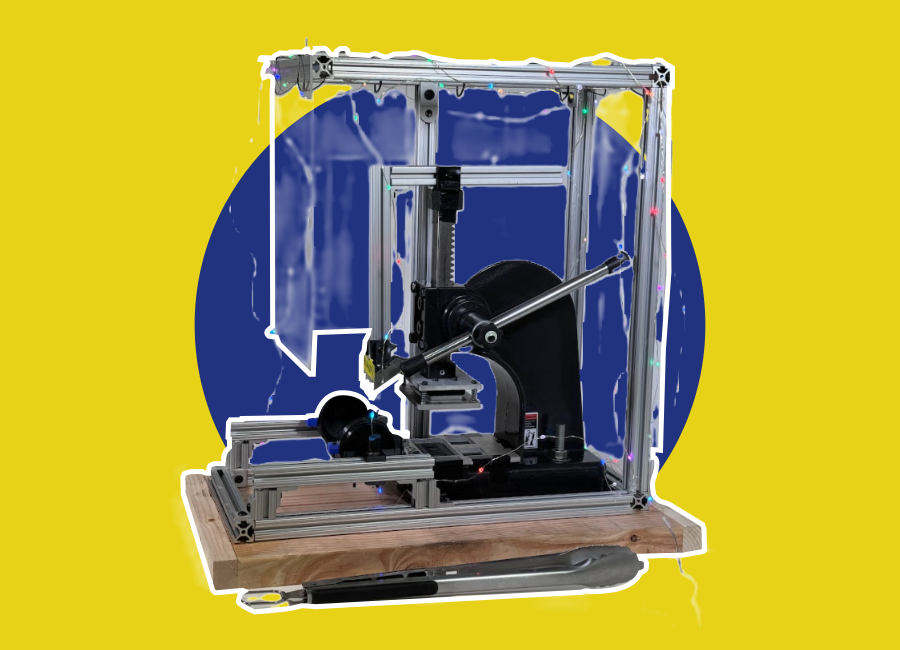
Turn your cool brewery can into a pocketable art piece in just two cranks!
From-scratch design & fabrication of modular 3-in-1 clamping, blanking,
and embossing mechanism to punch out brewery-logo design from
aluminum can sheet, integrated with 100% mechanically powered,
high-force arbor press
Focused on blanking & embossing mechanism with sub-team partner Julia Divan,
consulting with professors in machine, product, and fabrication
design
Designed, prototyped, and tested system over a semester working with
three fellow senior mechanical engineers and real-world client
Sydney Ladner
In 4 weeks, with no prior image processing knowledge, taught our dog to
recognize tennis balls in varied lighting conditions and move reliably in
response to April tags and close objects
Integrated vision system with dog's ROS2 brain over serial (designed by
groupmate Jacob Choi) to ensure a sound mind-body connection, while consulting with
fabrication-focused teammates on camera mounting & rotation system
Modularized vision code with libraries and functions to easily add/change April tags
reactions by simply adding to a list -- no-hassle testing!
Challenged myself to be responsible for a part of the project (vision) I had no
experience with -- and learned a lot...
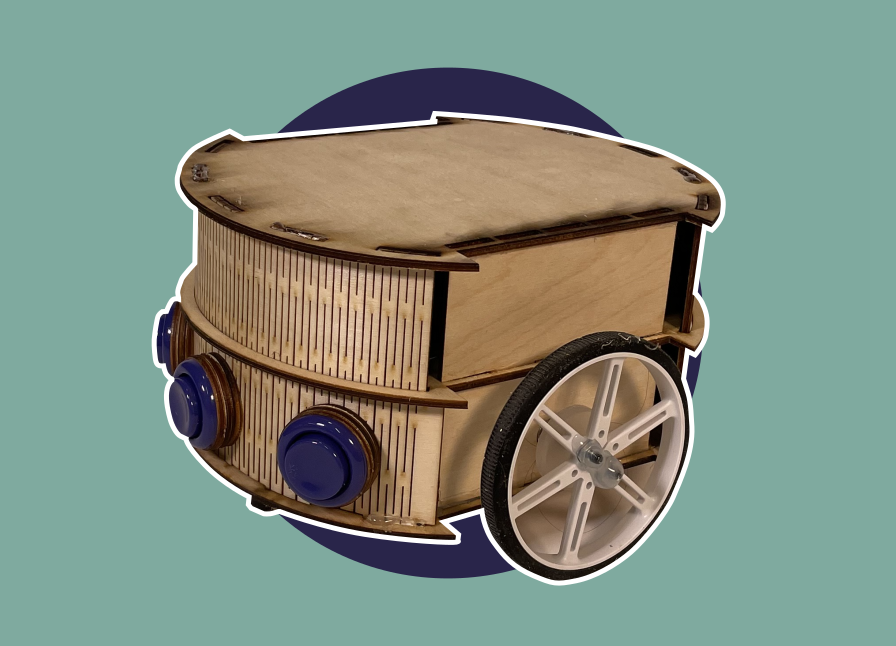
Working with two groupmates in my Electromechanical Systems & Robotics
class, I designed both the physical and electrical components of this driving robot
in two stages. In the first stage (picture to come), I designed the chassis of the
car in Onshape (and eventually laser cut it) to strategically position the various
components of the robot (wheels, motors, Raspberry Pi, wire management) for ideal
weight distribution to allow the robot to drive smoothly through a narrow hallway. I
also worked with my partners to utilize Flask to establish a consistent wireless
connection between the brain of the robot (Raspberry Pi) and our HTML webpage that
had basic movement buttons to signal the robot to move or turn in a certain
direction.
For the second stage of the project, we incorporated four buttons onto
our robot so it could 'sense' hitting walls in a hidden maze, redesigned the
chassis, added PWM motor control to enhance turning and calibrate the wheels, and
modified the buttons on our HTML site for easier real-time remote control of the
robot. To start, I worked with my teammates to test our minimum viable prototype of
a button press sending feedback from the Raspberry Pi back to our webpage, which we
eventually achieved by setting up the Pi as a server with Flask and sending data in
response to HTTP requests. Then, from my teammates' preliminary Onshape sketches of
a new chassis, I designed the living hinge walls to support multiple platforms and
enable a circular robot for smooth turning in place. I iterated through many
versions of living hinges, spending hours by the laser cutter, to eventually find a
pattern that balanced flexibility with strength for the talls walls I designed to
span the entire height of the structure. I also took and adjusted various
measurments to improve the snug fit of laser cut pieces together along with the
components within the structure. In between turns on the laser cutter, I worked on
implementing and testing the PWM motor control (transitioning from simple off/full
speed in stage 1) on a singular DC motor. Then, once we assembled the final robot
structure, I tested the accuracy of the PWM driving, modifying the program on the Pi
to calibrate the wheels to enable different speeds of straightforward/backward
driving and gradual turning.
From this project, I learned how to better manage a team project to
delegate tasks to work on as both a group and as individuals. Additionally, I
improved my physical fabrication skills (experimenting with living hinges, finding
'quick & dirty' ways of building certain parts like a bolt as a caster wheel,
designing a physical structure to balance and secure electronic components),
particularly in the context of a multidisciplinary project focused more on
electromechanical components than simply a physical build. I gained deeper
experience connecting robots to the internet, progressing from SPIKE Prime my first
year of college to a Raspberry Pi now, and finding clear ways of both controlling
the robot and representing real-time feedback on an HTML webpage. In general, I
thoroughly enjoyed the process of combining my Python programming skills, interest
in physical fabrication, and developing further experience with electronics to work
with groupmates on a complex system with a 'simple' purpose.
Electromechanical Game
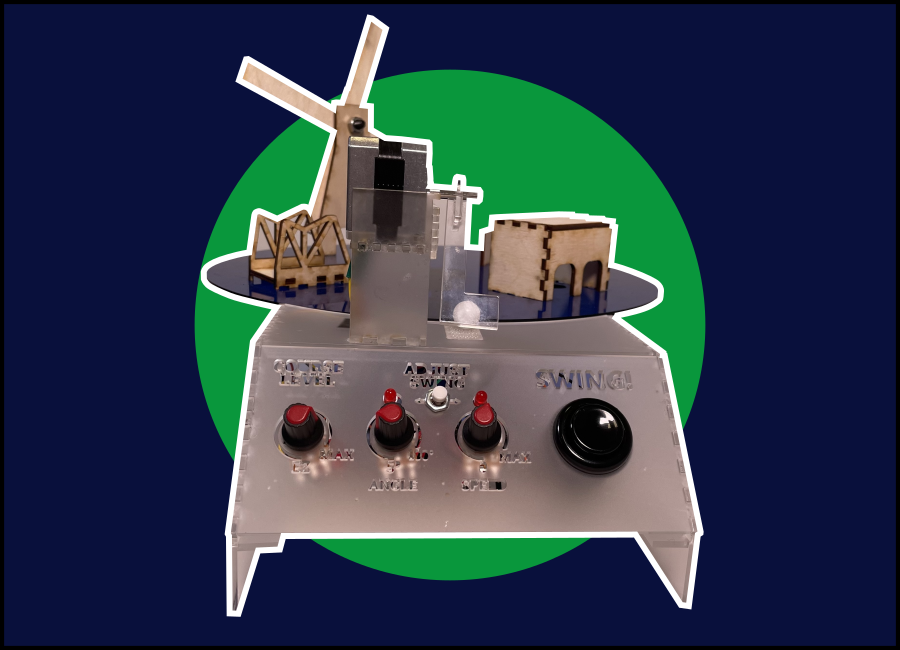
Merry-Go-Golf
Inspired by a childhood of smacking purple golf balls into mini barns,
windmills, and, most often, bushes, I designed & built an electromechanical game
that packs the thrill of mini golf into a desktop-size arcade game. I programmed an
Adafruit Feather to control the game and take inputs from the dashboard
potentiometers and buttons, then changes the behavior of the DC (under platform) and
stepper (attached to golf 'club') motors. I designed both the electronic &
mechanical components of the project, and laser cut, soldered, and assembled
everything together.
PCBs
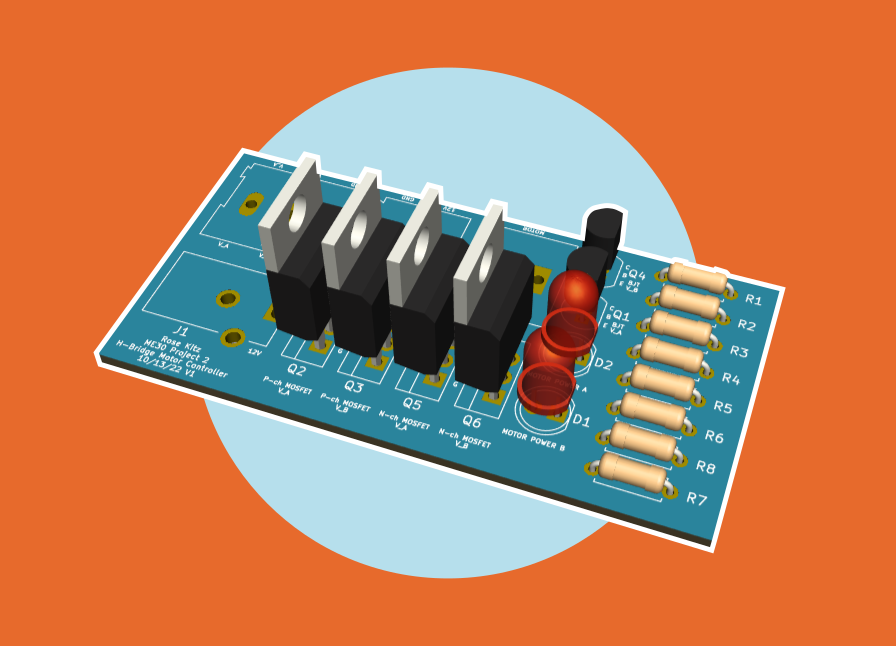
H-Bridge
I designed this h-bridge PCB on KiCad to control the direction of a
motor, including a 12V barrel power jack and a screw terminal to provide flexibility
for the power source. I also incorporated two indicator LEDs for motor power.
Additionally, I added detailed labels to several components and arranged each
footprint neatly to optimize the soldering process. After finishing the KiCad
design, I ordered my PCB to be fabricated, then soldered it and incorporated it into
my class projects!
Power Supply
This power supply was the first PCB I ever designed! Through this
project I learned the steps to go from a circuit sketch all the way to a physical
PCB in my hands to incorporate into my future electronics projects. I thoroughly
enjoyed soldering components to my own PCB. The pictures demonstrate my progression
from sketch --> breadboard prototype --> KiCad schematic --> KiCad rendering -->
manufactured & self-soldered PCB. The PCB receives power from a 12V wall-adapter
barrel jacks and converts the power to 3.3V and 5V, with pins to supply this power
to the rails of a breadboard.
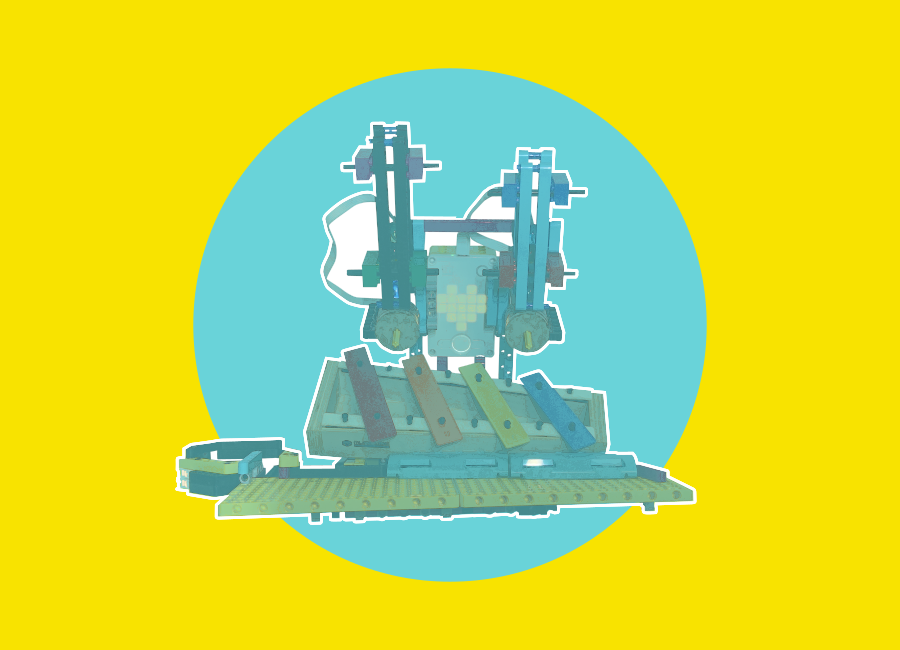
The Xylophone Player
The Xylophone Player consists of parts of a LEGO Education SPIKE Prime
kit, a modified xylophone, and OnShape-designed laser cut acrylic pieces (for the
marble holding and dropping mechanism). With the challenge to create a
middle-schooled targeted "Playful Creation" playable over Zoom, I designed and built
this apparatus around the xylophone to "play" the instrument by dropping marbles on
the keys. The children could access my web interface and either click a button to
play a pre-loaded song, or create their own song by inputting letters. Visit my web
interface here: http://tiny.cc/music-play.
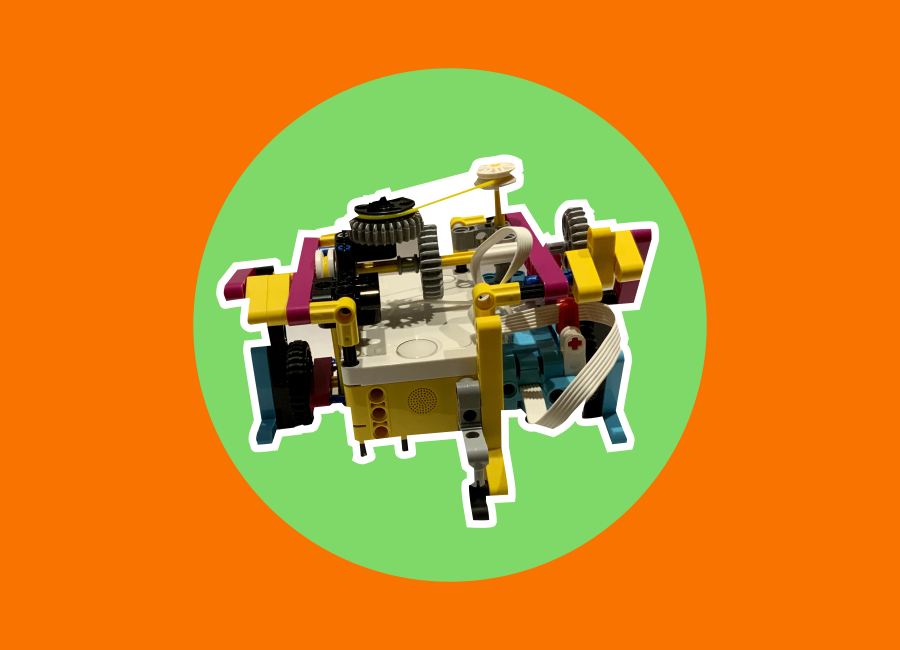
Silly Walks
This Silly Walks project was a challenge to make a robot out of the LEGO
Education SPIKE Prime kit only that could move forward, without wheels, and with
only one motor. My robot features a rotating rubber band and gear chain system which
connects the one motor with both legs of the robot. I also added rubber pieces from
the kit to improve the friction between the otherwise slipperly plastic robot and
the ground.